Plywood is one of the most versatile materials in woodworking, but it can also be one of the most expensive depending on the type of veneer and grade quality. Every scrap that ends up in the waste bin represents money lost. Whether you're a professional woodworker or a DIY enthusiast, learning to minimize plywood waste is essential for both your budget and the environment.
1. Plan Your Cuts Before You Start
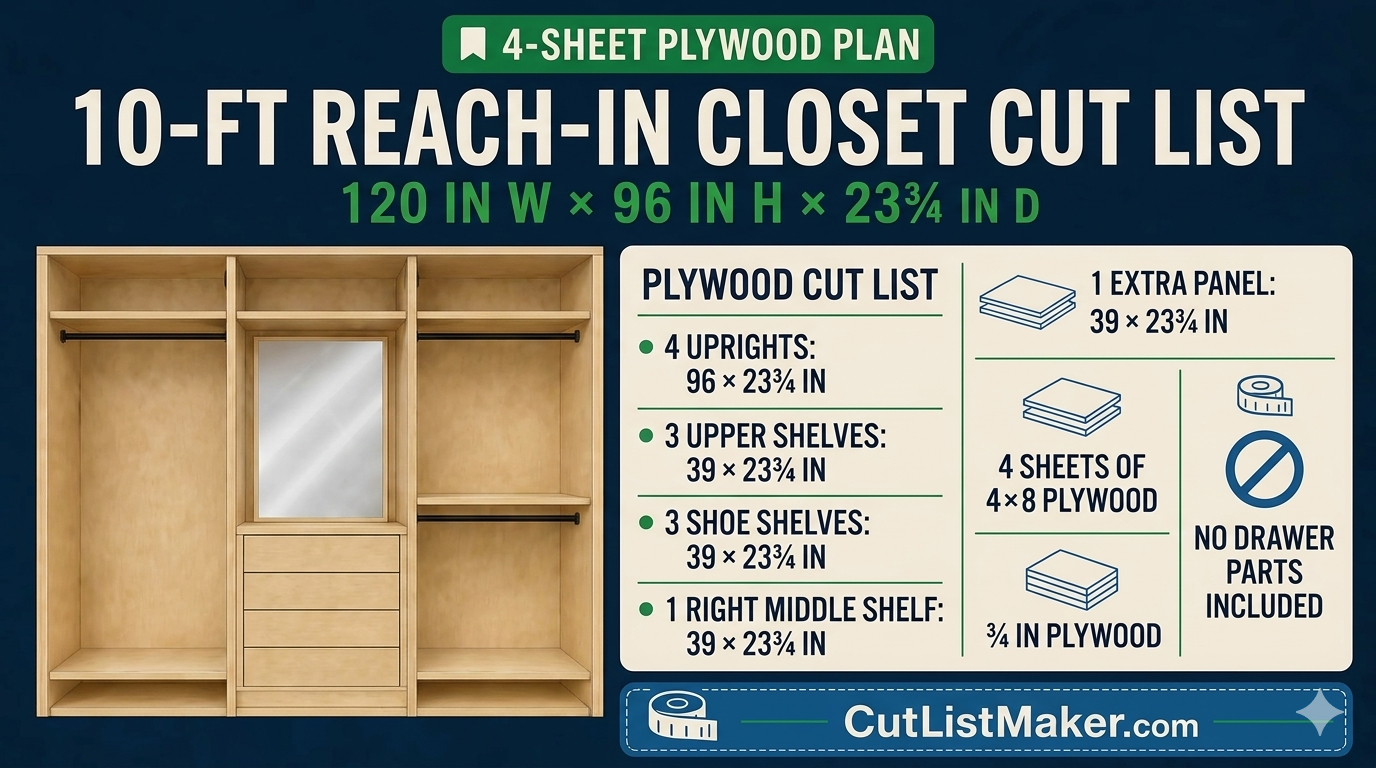
The most important step in minimizing waste happens before you even pick up a saw. Take time to plan your cut layout on paper or using cut-list optimization software. This allows you to visualize how pieces fit together and identify the most efficient cutting pattern.
There are a few cut-list optimization applications out there however none are like my Cut List Maker app. My app provides you real savings and information about each cut helping you manage your build costs. It also has many other features my competitors do not have. Check out our comparison chart for more details.
Pro Tip: Use Cut List Maker’s optimization engine to automatically generate the most efficient cutting layout for your project.
I’ll elaborate:
By entering your required parts and stock sheet dimensions into Cut List Maker you get an optimized layout that considers kerf, sheet size, part orientation, and minimizes off-cuts.
Many of the alternatives (for example, the free tool Cut List Optimizer) fall short: they might let you nest parts, but they lack the advanced heuristics, 2D material preview, 3D model integration, repeatable cut-sequence generation or woodworking-centric workflow that you get with Cut List Maker.
In my own workshop this planning step routinely cut plywood waste by ~30 % because I could group smaller parts into leftover zones rather than treating them as “junk”.
By spending 10–15 minutes at the planning stage you’ll set yourself up to avoid costly mistakes later, and you’ll maximize sheet usage.
2. Choose the Right Sheet Size and Grain Direction
When buying plywood, pick a sheet size that closely matches your project’s largest dimension so you’re not left with oversized off-cuts. Also consider grain direction: aligning long runs with the sheet’s long axis helps reduce scrap.
The Cut List Maker app is also designed to work with any material size. For example if you have a lot of 2x4s or 2x8 boards you need to cut down you can simply add your dimensions to the material size and for pro users you can select the "Display Option as 2x4 Pine" to give you a visual of what your cut offs will look like.
Pro Tip: If most of your parts are less than 48″ in length, buying 48″ × 96″ sheets may be optimal. Turn the sheet (rotate) so the long side becomes the width if that yields better nesting.
3. Account for Kerf and Blade Width
Every time you make a cut you lose material to the saw kerf (the width of the cut itself). If you ignore this loss you’ll end up with parts that are slightly too small or extra unusable ridges of waste.
Pro Tip: Measure your saw’s actual kerf (e.g., 1/8″) and input that into your tooling/setup. Tools like Cut List Maker allow you to specify kerf width so the optimization engine knows and avoids generating parts that assume a zero-width blade.
4. Beware of Unused Off-Cuts: Plan for Them
Off-cuts are inevitable, but they don’t need to be wasted. Create a “leftover parts” bin or area in your layout where you identify possible smaller parts that can come from the remaining waste.
Pro Tip: At the planning stage, emulate a “what can I reuse this triangle/strip for?” mindset. For example: strips that are ≥ 8″ × 24″ might become drawer bottoms, partitions, or auxiliary shelves. If your layout software supports it (Cut List Maker does), label those leftover zones and treat them as stock for future smaller parts.
5. Group Similar Parts and Optimize for Repeats
If you have multiple identical or similar parts (e.g., shelf panels, side panels) group them together in the cut-list so you can cut them in one pass. This reduces change-over, allows you to align grain direction consistently, and reduces waste from mis-aligned parts.
Pro Tip: In your software (again, Cut List Maker) mark parts that are “repeatable” and the engine will attempt to place them in the most waste-efficient manner rather than treating each as isolated.
6. Use Realistic Layouts, Not Idealistic Ones
It’s tempting to draw a perfect nesting layout on paper and assume it will translate flawlessly. But in real life you’ll have constraints: saw kerf, blade wander, sheet warp, defects in the plywood, etc.
Pro Tip: When planning your layout, reserve a small margin (½″ to 1″) around parts for defects or movement, especially if you’re dealing with budget plywood of inconsistent quality. Your cut-list tool should allow for that buffer.
7. Validate Before Cutting and Mark Efficient Sequence
Before you fire up the saw, walk yourself through the planned layout in your head: are there parts that will block access later? Is the sequence going to force extra repositioning of the sheet?
Pro Tip: Mark the sheet with chalk or a dry-erase marker to show the sequence: e.g., cut off the outer ring first, then drop in the inner parts. Some tools (including Cut List Maker) can generate a suggested cutting sequence tone-by-tone. That reduces mistakes and wasted time.
8. Rotate the Sheet When It Saves Waste
If your project allows, turn the sheet 90° so the long edge becomes the width. This can sometimes yield a more efficient layout especially if your parts are long but narrow.
Pro Tip: In your cut-list software toggle the “allow rotation” setting and then compare the waste percentage: you may find switching orientation reduces waste by several percentage points.
9. Keep an Off-Cut Catalog for Future Use
Often what becomes “waste” is simply “future useful stock” that you forgot about. Maintain a mini-inventory of off-cuts: dimensions, thickness, species, condition. Then next time you plan a project you can see if you already have suitable stock.
Pro Tip: Use a taped-off board or notebook in the shop labelled with off-cut sizes, or the “stock” module in Cut List Maker (if you set it up) so when a future project calls for a part of 12″ × 24″ you check the leftovers first rather than wasting a whole new sheet.
10. Recycle, Re-use & Evaluate Your Waste Streams
Not all plywood waste needs to go to trash. Consider using smaller scraps for jigs, test cuts, backing boards, or as drawer bottoms or behind panels. Also periodically evaluate your waste stream: how many sheets ended up with large unusable chunks last quarter? Why? What could you have done differently?
Pro Tip: At the end of each project, walk through your waste bin and categorize what you threw away. If large strips or rectangular off-cuts are common, you might need to revisit your layout strategy. Use that insight to feed back into the next project’s planning.
Final Word
The difference between a “wasteful” shop and a “tight” shop often comes down to planning, tracking, and iteration. By following these 10 tips and using the right tools, especially one built for the job like Cut List Maker you’ll save plywood, save money, and build cleaner, smarter projects. Your wallet and the planet will thank you.